Getting started
Webhooks are available exclusively on the Tidio+ plan
You can subscribe to Webhook topics to receive notifications on your endpoint URL when an event occurs.
You can figure the in Tidio panel under the Settings > Developer > Webhooks
The access to this section is limited to project owners and admin. For more information about permissions in Tidio, please refer to the related article.
Step 1. Add your first webhook
Set up your webhook endpoint to receive live events from Tidio. Group them with stack to easily manage set of endpoints.
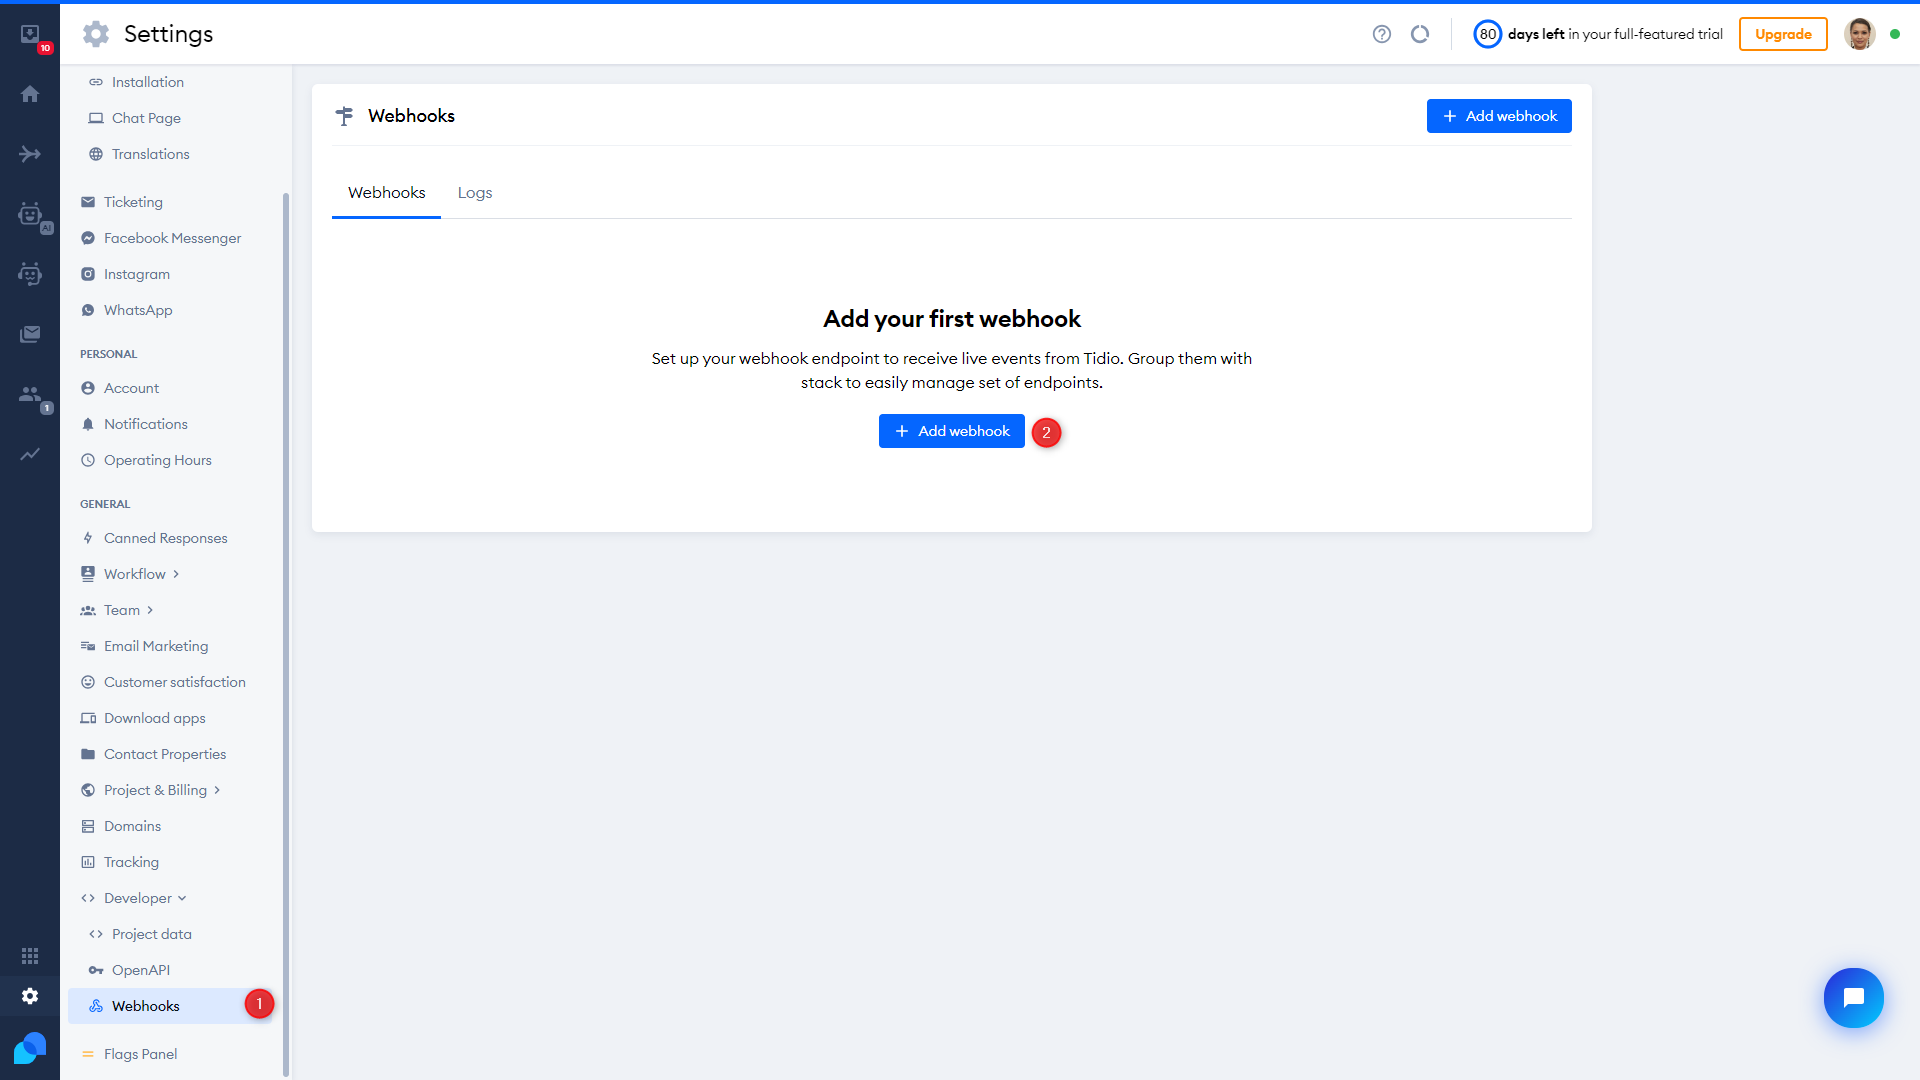
Step 1. Add your first webhook
Step 2. Paste your endpoint URL and create the stack
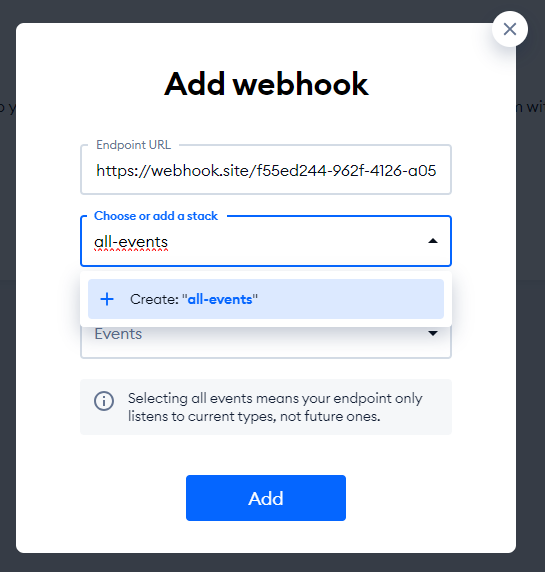
Paste the Endpoint URL and choose or add the stack.
Setting up the first webhook will require the creation of a new stack.
Step 3. Select events
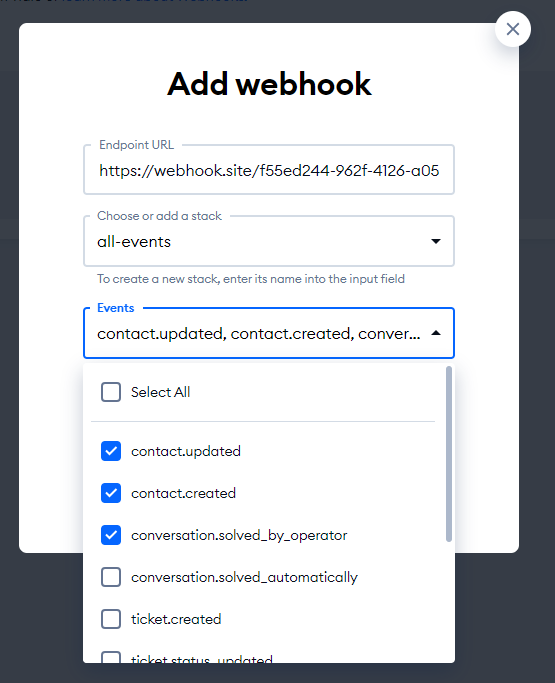
Select the events that will trigger the webhook
Step 4. The first stack is added
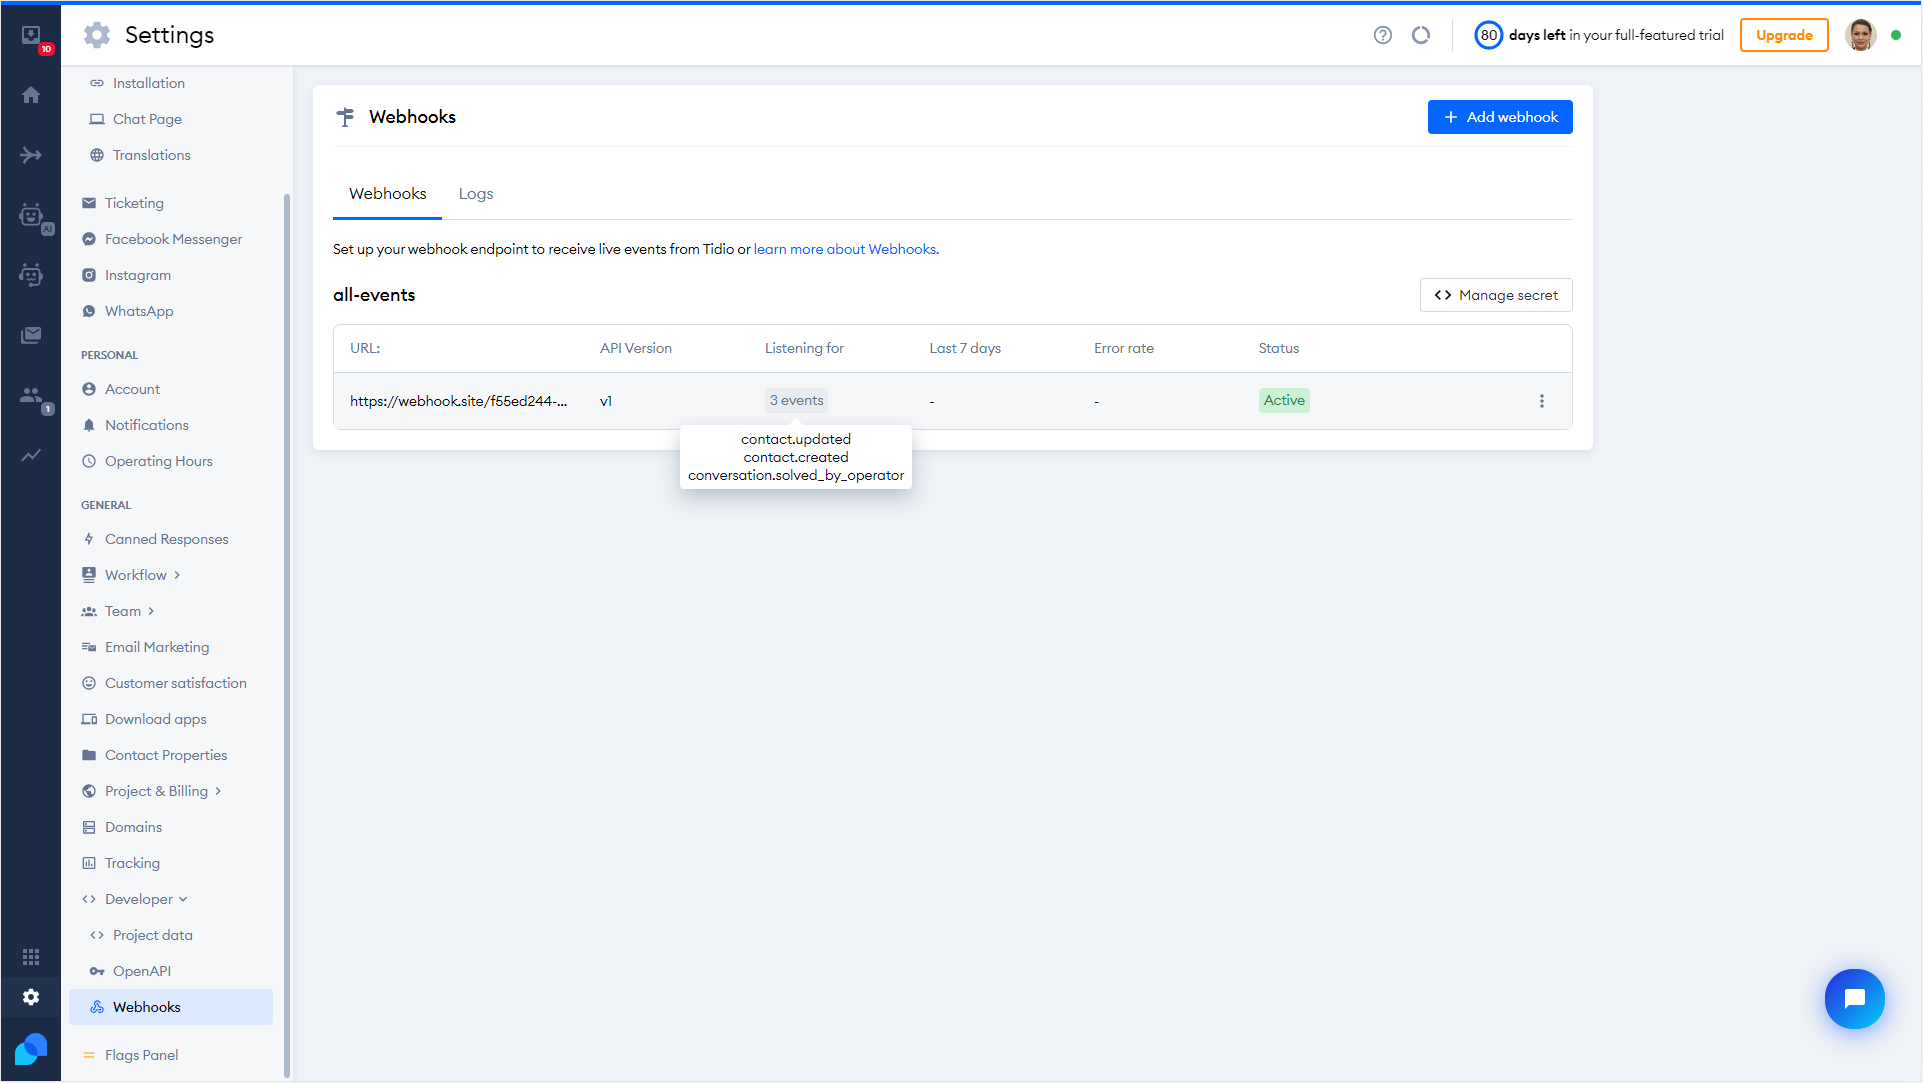
Your stack is added and the first webhook is set.
You can easily check which events are selected.
Step 5. Edit your Webhook
It's possible to disable (pause it) the webhook, delete or edit.
Choose Edit to add new or remove events
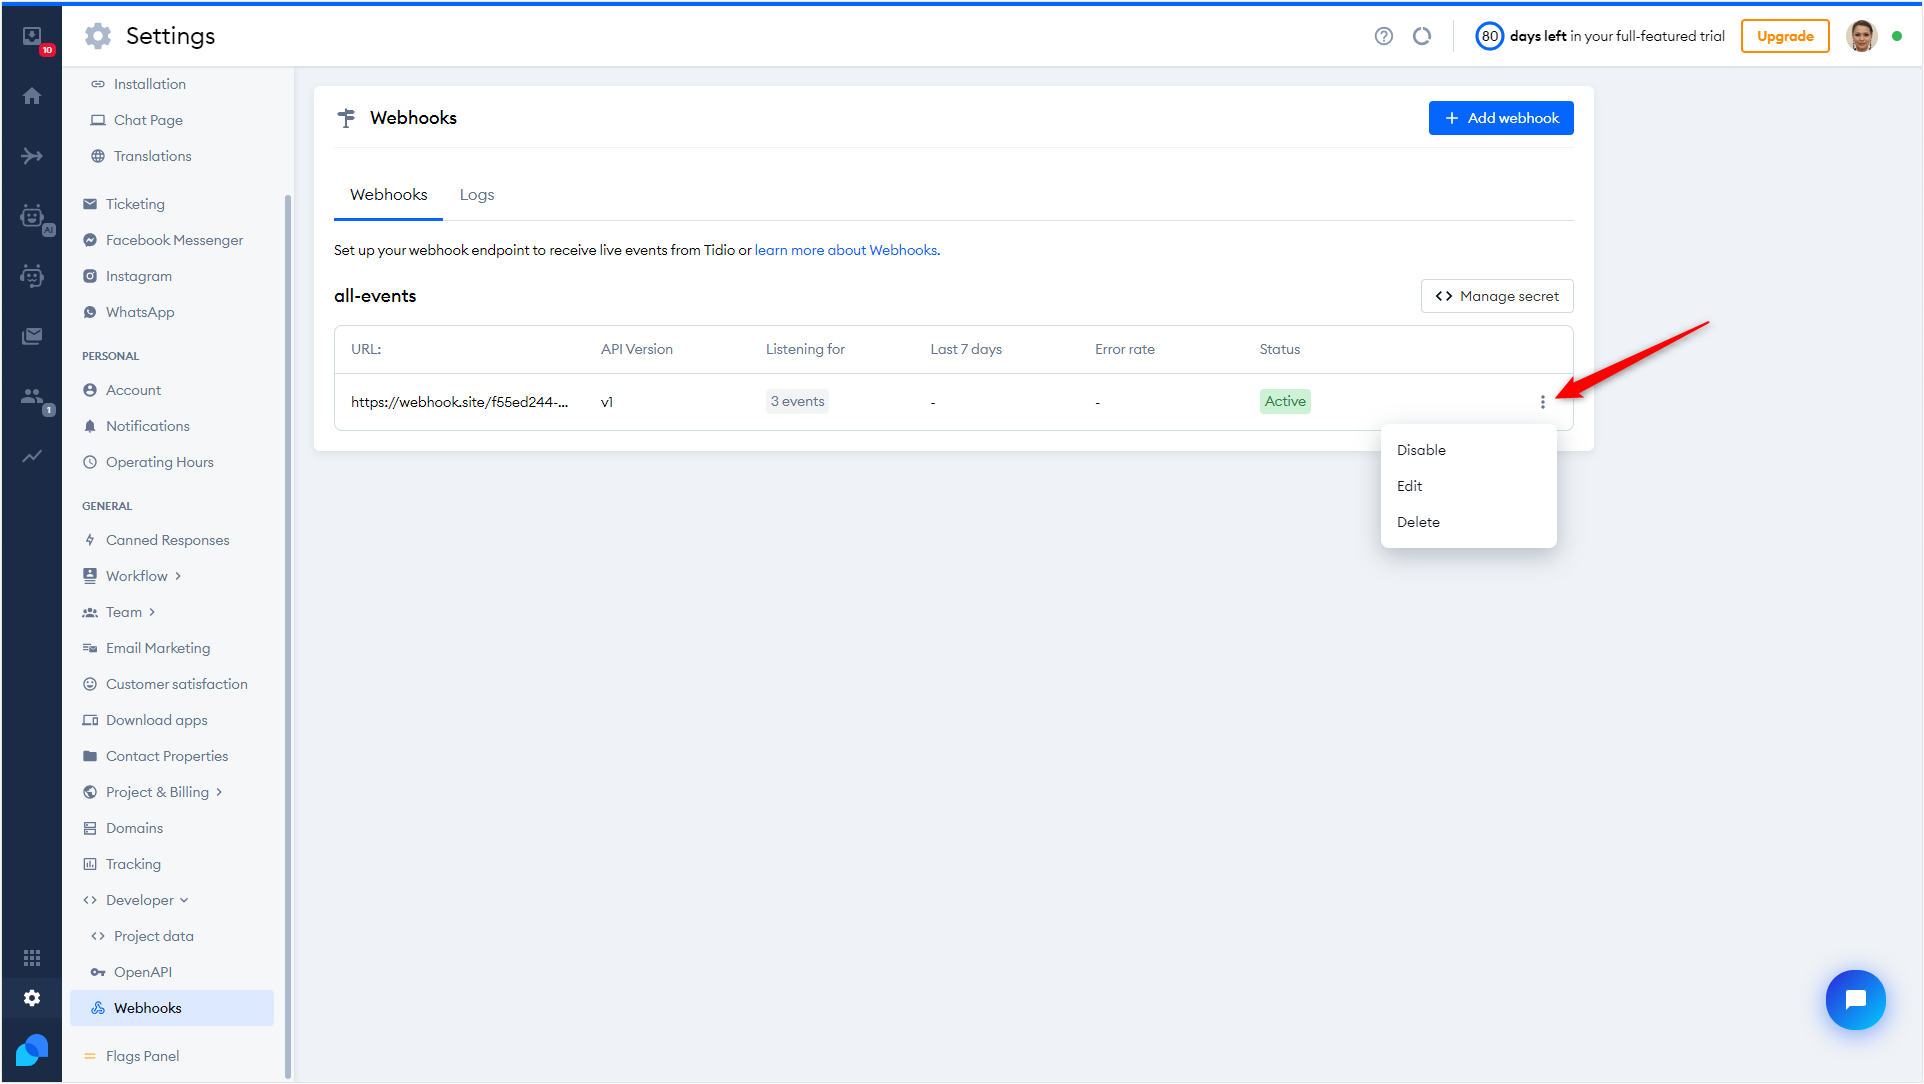
Choose Edit to add new or remove events
Updated 3 months ago